Recently, I decided to work with students to observe and analyze the temperature and humidity around the school using Arduino.
To store the data measured by Arduino, an SD card was necessary, and it was cumbersome to remove and reinsert the SD card to check the data.
I suddenly thought about saving the data on the web.
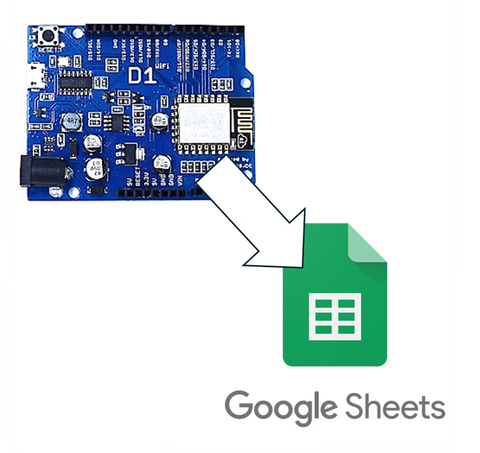
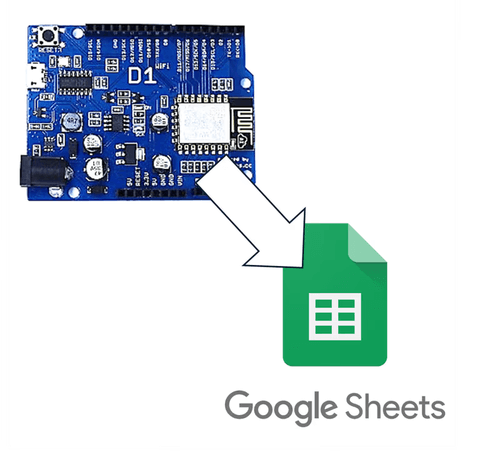
Today's post is the first step to connect Arduino with Google Sheets, specifically setting up Google Spreadsheets.
1. Google Spreadsheets
Google Spreadsheets is a free web app provided by Google.
It operates primarily in a browser and allows collaborative editing and viewing. Sheets can be modified via HTTPS requests using apps script.
First, search for 'Google Spreadsheet' on Google and create a new sheet.

Upon logging in, you'll see a window like below. Click on the 'Blank Spreadsheet' to create one.

If a new sheet is created as shown below, try the following steps:
Change the title and sheet name to English (to prevent potential errors).
Create column indexes for the data.


Now, note the spreadsheet ID from the address bar.
The format is '/d/Google Sheet ID/edit#gid=0'. Copy the middle part.

The basic work on Google Spreadsheets is now finished. Let's set up the script for the spreadsheet next.
2. Setting up App Script
Go to [Extensions] – [Apps Script] in the sheet menu.

You will see a window like this. Now enter the desired code where the function is.

Enter the following code. Here, you must specify the Google Sheet ID and the desired values' names using the switch, case statement.
function doGet(e) {
  Logger.log( JSON.stringify(e) );
  var result = 'Ok';
  if (e.parameter == 'undefined') {
    result = 'No Parameters';
  }
  else {
    var sheet_id = 'Your Google Sheet ID'; // Spreadsheet ID
    var sheet = SpreadsheetApp.openById(sheet_id).getActiveSheet();
    var newRow = sheet.getLastRow() + 1;
    var rowData = [];
    var Curr_Date = new Date();
    rowData[0] = Curr_Date; // Date in column A
    var Curr_Time = Utilities.formatDate(Curr_Date, "Asia/Tokyo", 'HH:mm:ss');
    rowData[1] = Curr_Time; // Time in column B
    for (var param in e.parameter) {
      Logger.log('In for loop, param=' + param);
      var value = stripQuotes(e.parameter[param]);
      Logger.log(param + ':' + e.parameter[param]);
      switch (param) {
        case 'value1':
        rowData[2] = value;
        result = 'Entered value1 in 3rd column';
        break;
        case 'value2':
        rowData[3] = value;
        result += ' ,Entered value2 in 4th column';
        break;
        default:
        result = "unsupported parameter";
      }
    }
    Logger.log(JSON.stringify(rowData));
    var newRange = sheet.getRange(newRow, 1, 1, rowData.length);
    newRange.setValues([rowData]);
  }
  return ContentService.createTextOutput(result);
}
function stripQuotes( value ) {
  return value.replace(/^["']|['"]$/g, "");
}
Once the input is done, deploy the code. Click Deploy at the top right, then click on New Deployment.

In the New Deployment, set the type to Web App, change users with access to 'Anyone', and click Deploy.
If you don't set permissions to 'Anyone', it will require login. Change the permissions back to 'Anyone' in that case.


Clicking Deploy will request access permissions. Click Allow Access.

When the access approval window appears, click your ID.

Ignore the warning window and click Advanced below.

Click "Go To ~" that appears below to grant permission.


Once the new deployment window shows, copy the URL of the web app and confirm it has been properly set up.

3. Checking the Web App
By sending a GET request to the URL of the web app, store the data in the query string to value1, value2.
In the address bar, append data like below to the end of the web app address, and press Enter.
https://script.google.com/macros/s/Google App Script ID/exec?value1="DesiredValue1"&value2="DesiredValue2"
This form of data transfer is known as a query string. Append desired values after "?" joined by "&".
Check Google Sheets to confirm the data is well-delivered.

Simple numbers, not just text, can also be conveyed.


The values are nicely entered.
4. Conclusion
In this post, we looked at how to enter data into Google Spreadsheets via a simple GET request.
All that's left is to send a GET request from Arduino using HTTPS communication.
I'll continue in the next post.


댓글을 불러오는 중...