최근 내 영상 작업용 노트북 MSI Prestige PS42 8RB의 CPU, GPU 온도가 90도 이상 올라가는 일이 빈번해졌다.
이제 이 노트북을 산지 3년이 됬으니 서멀 그리스를 교체할 때는 된 것 같다.
그래서 오늘은 노트북을 분해하고 서멀 그리스 도포 후 온도 변화를 관찰해봤다.
먼저 작업 난이도를 설명해준다.
작업 난이도 : ★★☆☆☆

난이도 참고용
아이폰 액정교체 : ★★★★★
충전단자 교체 : ★★★☆☆
자동차 키 수리 : ★★★☆☆
노트북에 대한 기본 지식이 있거나, 그냥 어디서 무엇을 뺐는지 기억할 정도의 기억력이라면 쉽게 할 수 있는 작업이다.
별로 어렵지 않다!!!!
먼저 노트북을 분해 해보자.
MSI는 머선 일인지 쿨링 팬과 메모리, SSD 슬롯을 모두 키보드 쪽에 놔뒀다.
그 말인 즉슨, 모두 분해해야 한다는 뜻
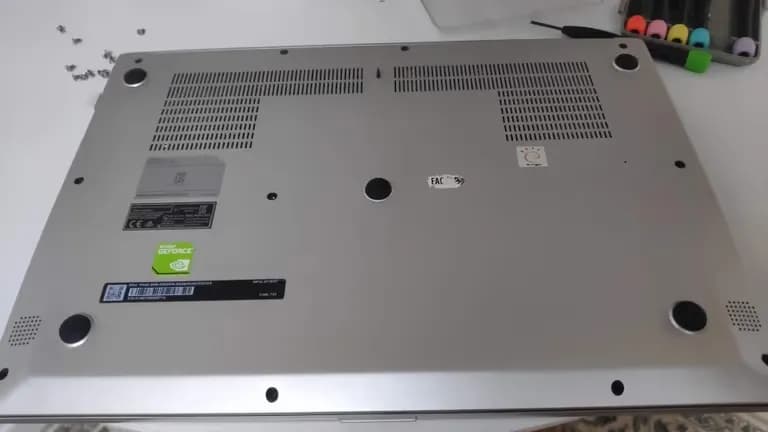
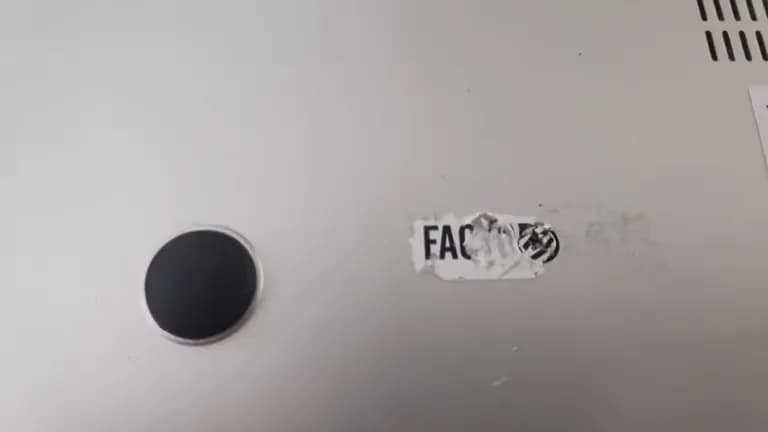
이 모델에는 다행히 숨겨진 나사는 하나 뿐이다. 스티커를 뜯어내면 나사가 하나 나온다.
나중에 구분하기도 쉬움.
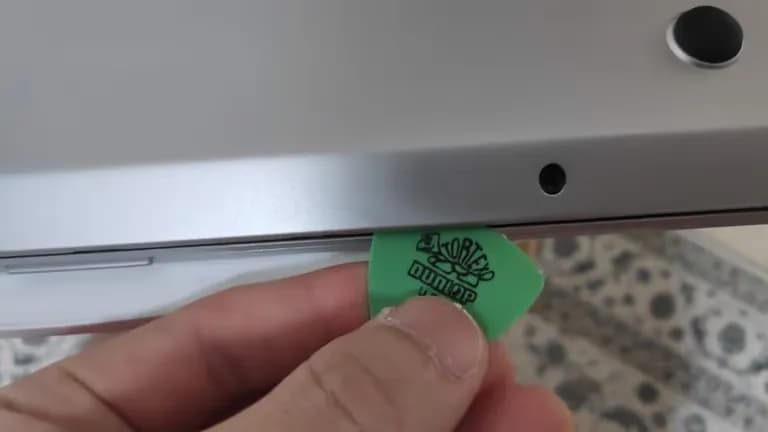
가운데 숨겨진 나사까지 모두 분해하고 피크를 이용해서 하판을 뜯어냈다.


이제 메인보드를 들어내기 위해 냉각팬 근처의 선과 와이파이 모듈을 분리한다.
와이파이 모듈은 그냥 선만 걷어내면 됨.
분해할 필요 없다.
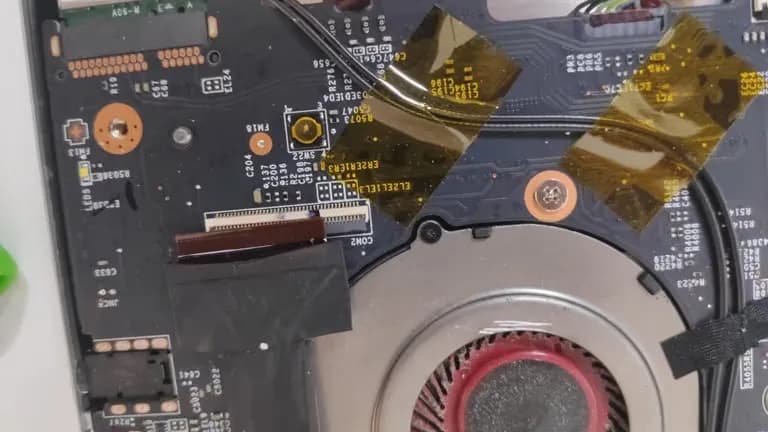
위의 노랑 까망 테이프를 다 뜯어주면 걸거치는 것들은 전부 처리된다.
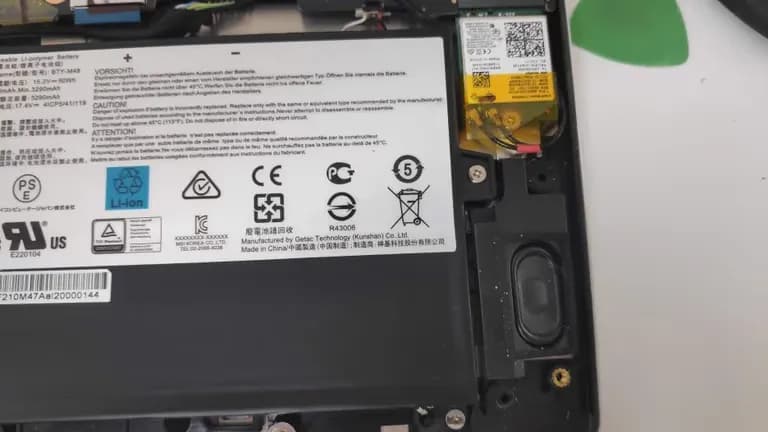
근데 중요한 것은 그 전에 베터리를 반드시 분리해아 한다는 것!
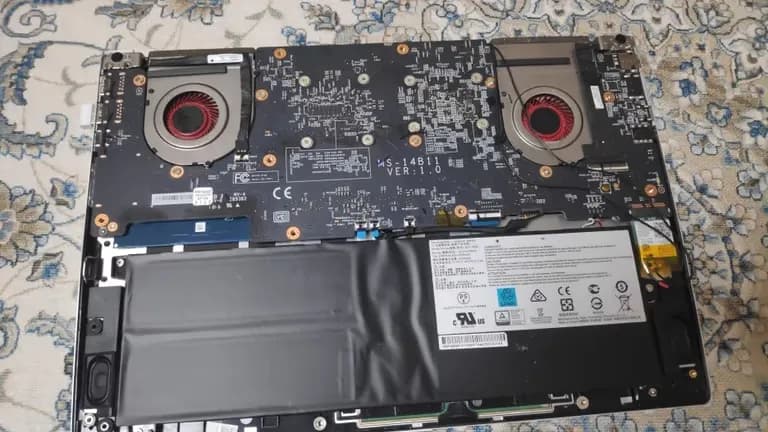
그리고 나사들을 다 풀어주고 뒤집으면 이런 모습이 된다.
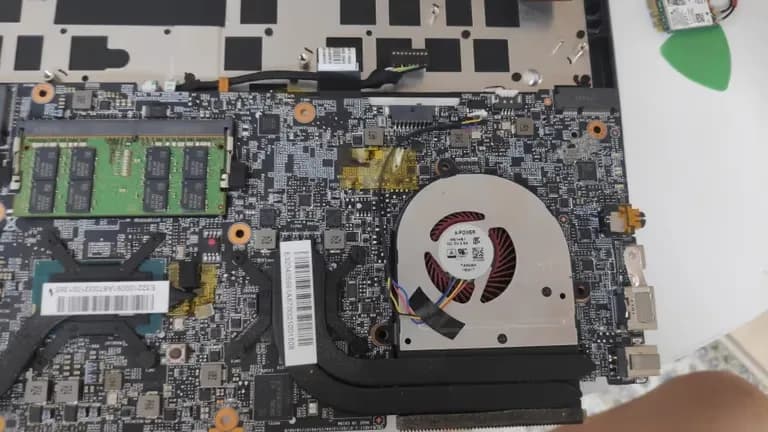
직접 해보니 몇개의 선을 뺄 필요는 없었다.
그낭 뒤집어 지니까.
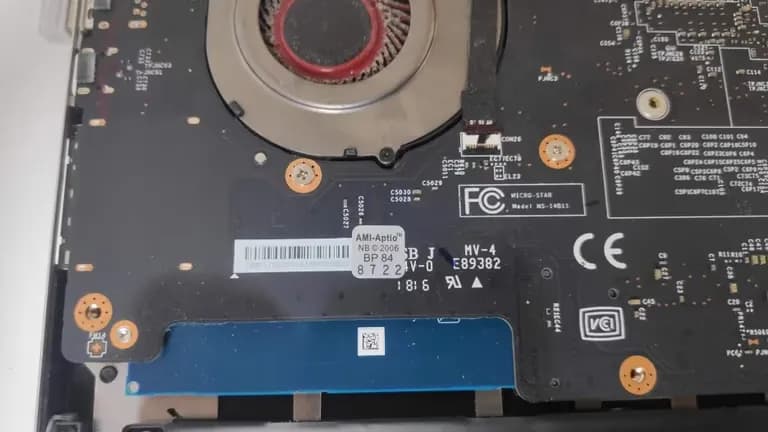
냉각팬을 분리하고 서멀 구리스를 다 닦아낸 뒤에 청소해줬다.

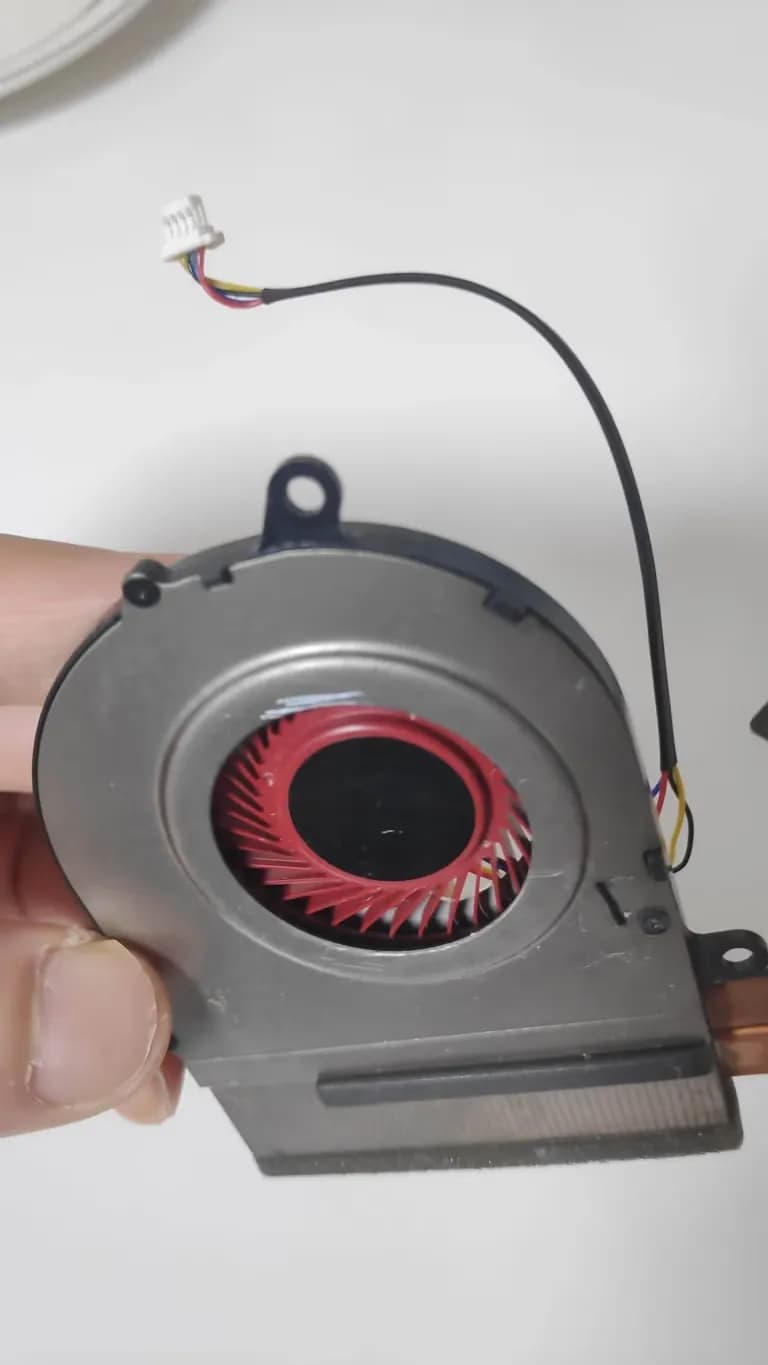
청소를 하고나니 확실히 깨끗해졌다.
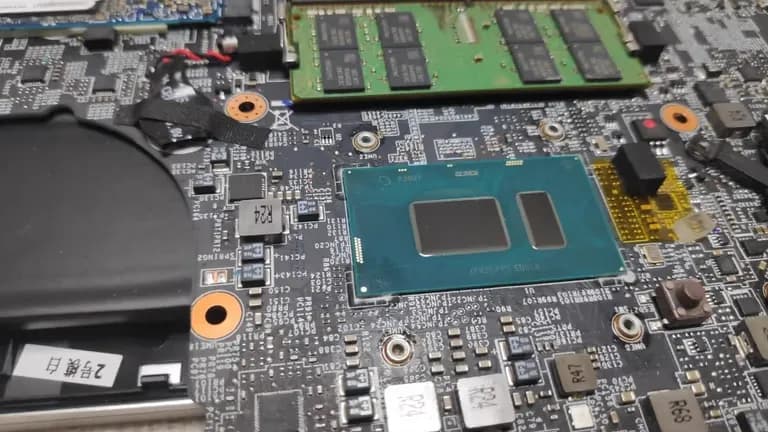
CPU와 GPU에도 서멀 구리스를 재도포 해주었는데 사진 찍는걸 깜박함.
아래 닦아낸 사진만 보면 될 것 같다.
키친 타월과 알콜 솜으로 열심히 닦아주었다.

그리고 서멀 구리스를 재 도포한 뒤에 당연히 조립은 분해의 역순이다.
이렇게 다시 조립하고 나니 영상 작업시에 cpu의 온도가 10도 정도 떨어졌다.
그냥 전자기기의 수명은 3년인가 싶다.
돈 많이 벌어서 새 노트북 사고 싶다는 생각을 하며 글을 마친다.


댓글을 불러오는 중...